(What Worked & What Didn’t)
This week I started something new in my kitchen: milling my own flour from wheat berries using my KitchenAid grain mill attachment. I’ve been curious about fresh milled flour for a long time because of the nutrition benefits and the hope that our family might tolerate wheat better when it’s less processed.
But I quickly learned something important.
Fresh milled flour behaves very differently than store-bought flour.
And my sourdough baking journey this week proved it.
Why I Started Milling My Own Flour
When flour sits on store shelves for months, it loses a lot of the natural oils and nutrients found in the wheat berry. Fresh milled flour contains the entire grain:
Bran Germ Endosperm
Because of this, it contains more fiber, vitamins, and healthy oils, but it also behaves differently in baking.
Fresh flour absorbs water differently, ferments differently, and can make sourdough feel like an entirely new recipe.
I was excited to try it, but my first loaf was definitely a learning experience.
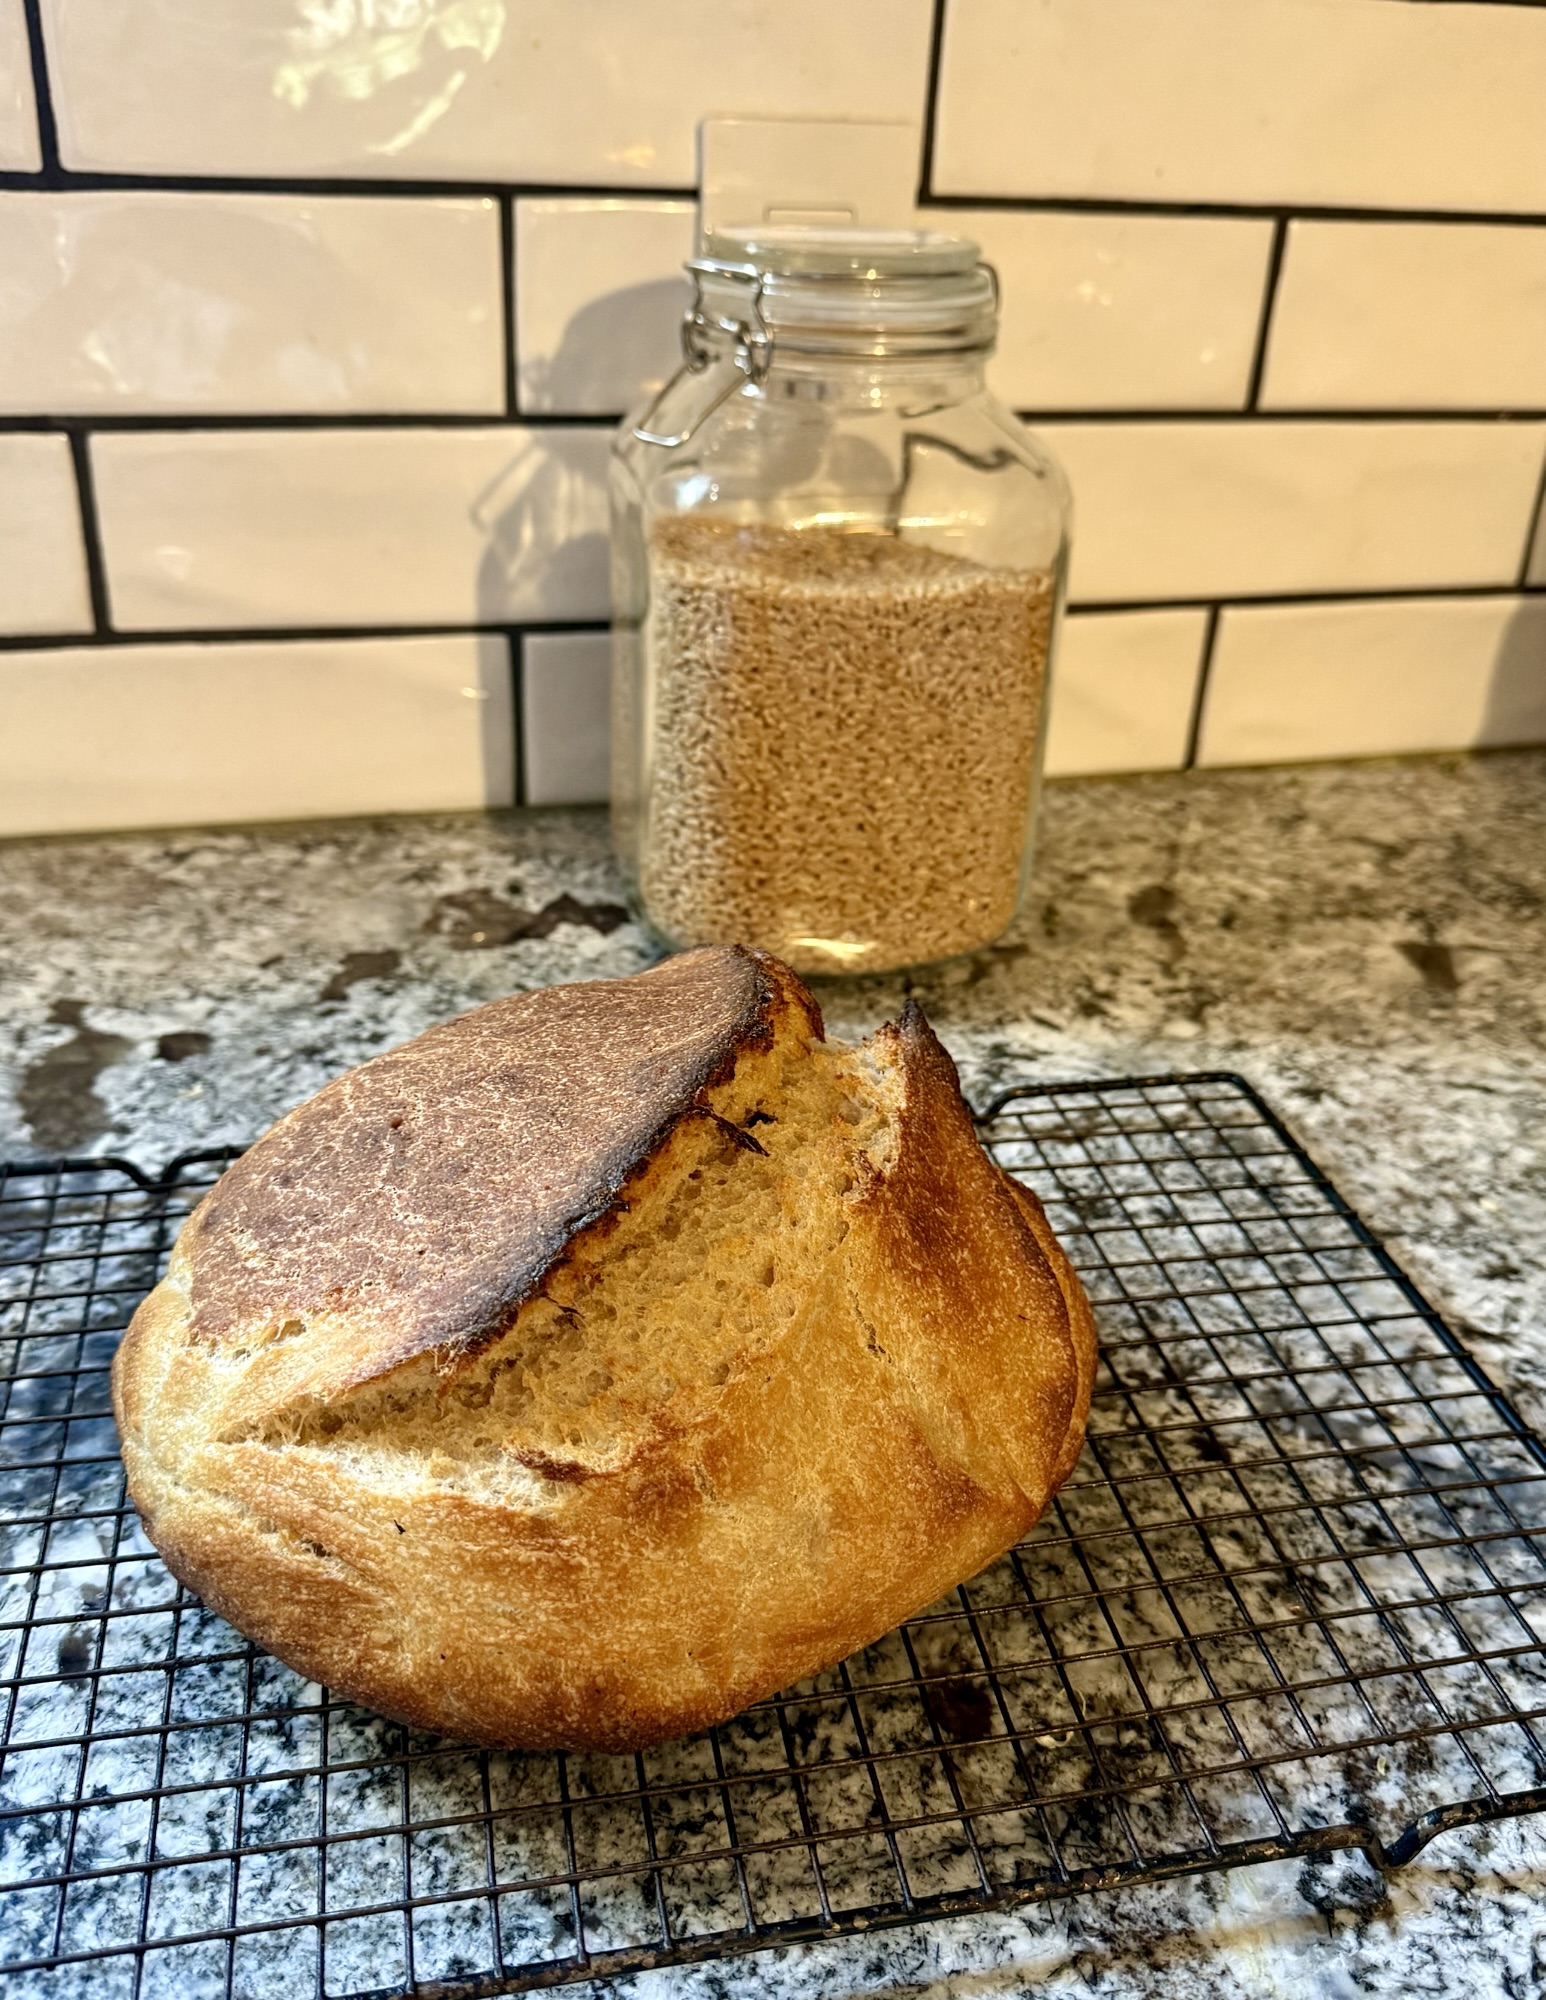
Attempt #1: The Flat Loaf
For my first bake, I used my regular sourdough recipe but replaced the flour with fresh milled flour.
The result?
A very flat, dense loaf.
The dough felt stickier than usual and didn’t hold its shape the way my bread flour loaves normally do. The flavor was wonderful, but the crumb was tight and heavy.
It was clear something needed to change.
Attempt #2: Getting Closer
On the second attempt, I started researching how fresh milled flour behaves in sourdough.
A few things quickly became obvious:
Fresh flour absorbs more water The bran can weaken gluten structure My starter might not be strong enough for a full fresh-milled loaf
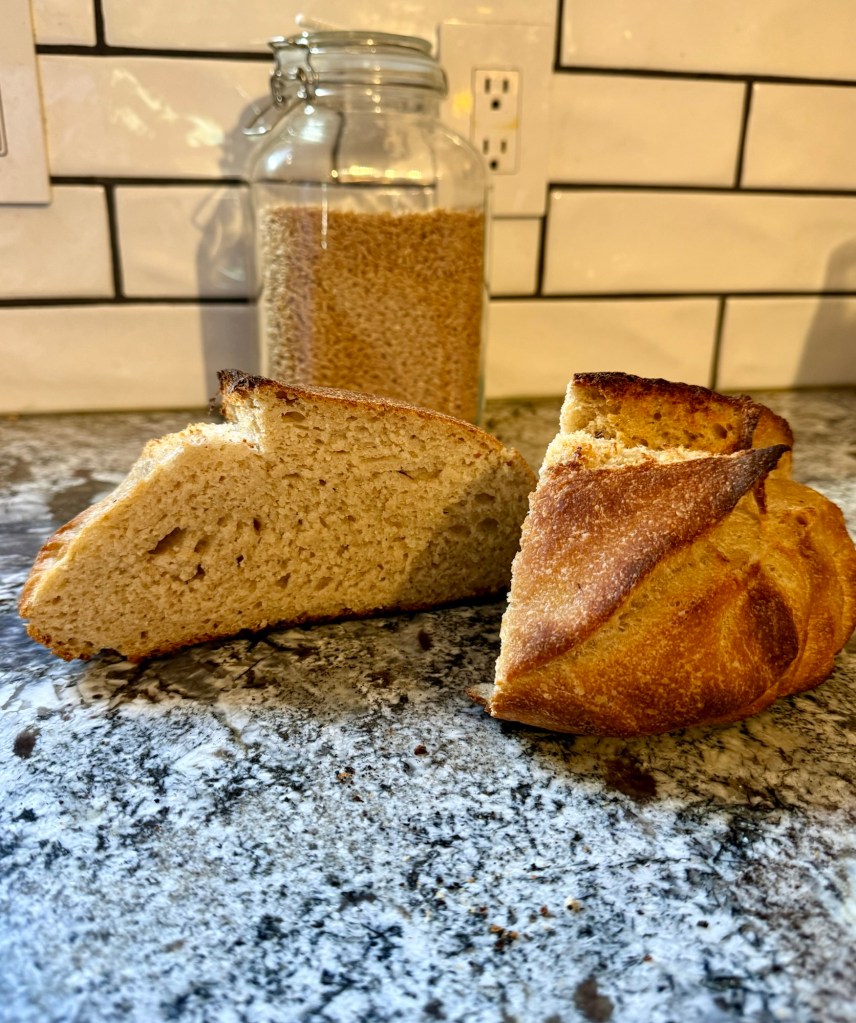
The second loaf was definitely an improvement, but it still wasn’t quite right.
Better rise.
Better texture.
But still not the soft crumb I was hoping for.
The Adjustment That Finally Helped
After experimenting a bit more, we made three total adjustments before landing on the version that worked best.
1. Strengthening the Starter
I began feeding my starter with a mix of bread flour and fresh milled flour instead of only fresh flour. This helped strengthen the yeast activity and improve the rise.
2. Adjusting Hydration
Fresh milled flour absorbs water differently, so the dough needed a slightly higher hydration level to stay workable and elastic.
3. Giving the Dough More Time
Fermentation timing mattered more than I expected. The dough needed time to develop structure before shaping.
After those adjustments, the dough behaved much more like the sourdough I’m used to working with.
What I Learned This Week
Switching to fresh milled flour isn’t difficult, but it does require a learning curve.
Here are a few things I learned during my first week experimenting with it:
• Fresh milled flour absorbs water differently than store flour
• Your starter may need strengthening when switching flours
• The dough can feel stickier at first
• A mix of fresh milled flour and bread flour can help maintain structure
Most importantly, I was reminded that sourdough baking is a process. Sometimes it takes a few tries to understand how the ingredients want to behave.
And honestly, that’s part of what makes it so enjoyable.
What’s Next
Now that I’ve found a version of the recipe that works well, I’m excited to keep experimenting with different grains and baking techniques.
Next I’ll be sharing:
The adjusted sourdough recipe I’m using now Tips for baking with fresh milled flour More recipes using freshly milled grains
If you’ve baked with fresh milled flour before, I’d love to hear your experience.
Did you have the same learning curve?
